My Violin won’t Make any Sound: What to check first
You take your violin out, or your bow, and surprise: no sound. But clearly, no sound at all: what a surprise! It is not that the sound is soft, low, or muffled: it is completely absent. The thing is, your violin itself is not at cause here.
If your violin does not make any sound, your bow is likely new or your bow has just been re-haired. A bow needs rosin to grip the strings and make a sound. Take your new rosin and break it in with 400 grit sandpaper. Gather the dust with the bow hair. Then apply rosin slowly and thoroughly. Your violin will make a great sound twenty minutes later.
Opening your first violin is something important, that you will remember. To make your bow work, rosin is essential. Even if applying rosin is not difficult, many details are important to use your violin and bow correctly and will help you save some time in that lifelong journey.
How to make a new violin work
Tune your new instrument
If you have just bought a new violin by yourself, or been offered one, then you need to make it work without the help of a professional. If you don’t have any friend or teacher to help you, it is sometimes difficult for ethical reasons to bring your new violin to your local luthier who might grin at the idea of working on a new violin he or she has not sold.
So if you are on your own, the first thing you have to do is slowly put your instrument in tune. Wind up the strings slowly not to damage them. Do not over-tune your violin not to over-stretch the strings. Check our article on how to tune a string instrument here. If you begin, use a simple electronic tuner to help you in the process.
But the violin is a dead instrument without its counterpart: its bow. If your violin doesn’t make any sound it is likely the bow’s fault: your new bow is not gripping the strings.
Tighten your new bow
Now that your new violin is in tune, the next thing is to tighten your bow. The very first “maintenance” process when it comes to the bow is learning how to tighten it and loosen it. Tightening your bow is not difficult, but I have detailed all the processes in that blog post.
If you want your bow to grip your string correctly and make a sound, it must be properly tightened. Here is in a nutshell what I have detailed in the article above. Turn the button clockwise (screw the button) for the hair to get tension. Turn a couple of times until there is enough room for a pencil to fit between the wood and the hair. Then loosen a tiny bit. You should always see the convex shape of the bow. If you put your bow on a string and apply medium force, the stick (the wooden part of the bow) shouldn’t be touching the hair, shouldn’t feel squashed.
Now that you know how to tighten a bow correctly (and loosen it), you are ready for the next step. I will show you how to put rosin on your bow and make a great sound.
Last thing though: do not touch the hair of your bow with your fingers (or any contaminant). If you want to apply rosin correctly and grip the string, the bow hair shouldn’t be contaminated by any greasy element, of any sort. Your fingers, even if they are clean, can add some grease into the hairs (and scales) of the bow hair, which might hinder slightly the gripping process. This is something you do not want: so the hair of the bow is something a violinist never touches.
My new violin bow is not making sound
Whether your bow is completely new, or newly re-haired by a bow maker, the rosin is undoubtedly required for the bow to make a sound.
A new and fresh rosin cake is inexpensive. I recommend a few of them that I have extensively tested and used over the years. I have detailed what rosin I recommend for beginners, intermediate or advanced players in my recommended rosins page.
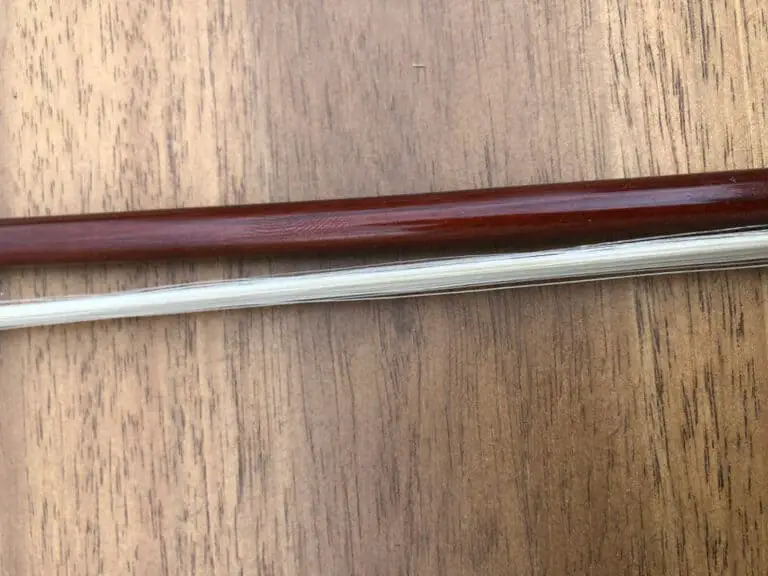
The hair of the bow is made out of horsehairs, as I have shown here, but the hair alone doesn’t provide enough grip to play the string. Even the micro-scales that you can see on the structure of the hairs if you look under a magnifying glass are not sufficient to grip the string.
An essential compound has to be applied to the hair: it’s called rosin and comes in small cakes. It is made out of pine tree sap, smells good, and is sticky.
We won’t discuss the quality of the rosin that comes with your new violin in a pack with its bow and case. The first thing you will notice is that your rosin is smooth. Your bow hair is new and doesn’t grip the string (nor the rosin), and the rosin is so smooth that the bow slips on it.
Your rosin needs to be broken in
For the next bullet points, make sure you read my long article on how to rosin a bow.
For your bow hair to gather rosin dust and eventually grip the rosin (and the string), on a new rosin cake, you need to break the rosin in. Put some sandpaper (400 grit) on a hard surface. Take your rosin and slowly sand it four to five times. You will see a white powder detaching itself. Take your bow and slowly gather that dust.
It is always a long process to rosin a new bow. Be reassured, it is not as long every time you need to rosin your bow: only the first time is as long and tedious. It might take you as long as twenty minutes to reach an acceptable result.
A dozen times, sand the rosin and gather the dust with the bow. The rosin dust will be naturally transferred without the bow gripping the rosin. That way, you will break in both the rosin and the bow hair. You won’t wear the scales on the rosin. Now that the bow is beginning to be rosined, you will be able to go on putting rosin on it without the help of the sandpaper. Keep your sandpaper around, though, as it can be handy if your rosin needs to be freshened a bit in the following weeks.
Bow makers have already made rosin dust to accelerate the process. But a violinist does not need dust as he or she usually needs to rosin a new or freshly re-haired bow a couple of times a year.
Apply your rosin correctly
Now you can go on and apply rosin, from the frog to the very top of the bow. Do not forget any part. Do not apply too much pressure. Do not make movements up and down only, but also turn your bow in order to try to present not always the same part of the hair to the rosin.
Shake your bow through the air to remove excess dust in some parts and even out the amount of rosin on the hair. So apply rosin regularly and check on your violin.
Now it is the trial and error moment: play, rosin, play, rosin until you like the sound until you feel the bow grips the string at its full potential. Whether you can produce a beautiful sound is another story, at this point!
Clean your strings
Now that your bow hair is covered with rosin, your violin must have started to gather dust already. So clean the violin with a dry cloth, without pressure, and clean the strings with a cloth with a drop of alcohol: a clean string is essential if you want a good sound.
If you want your violin and bow to always be in perfect working conditions, check out my maintenance mega guide here!