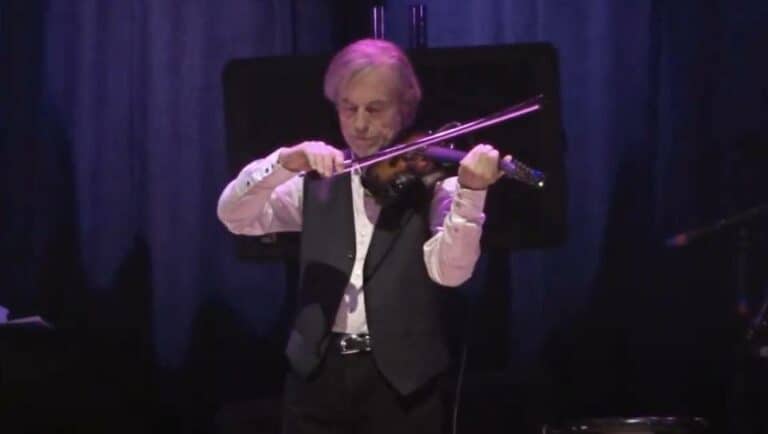
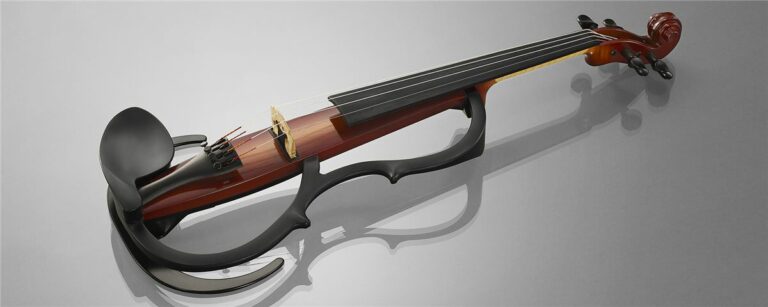
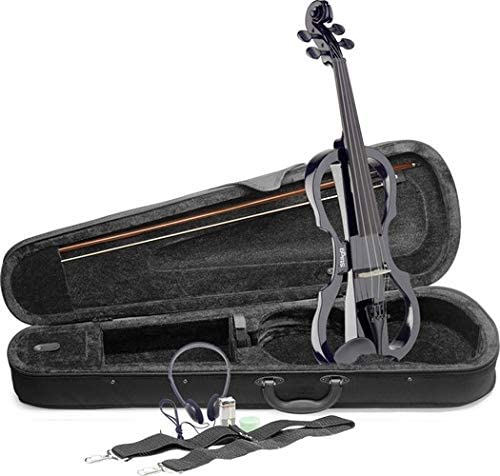
How to Record my Electric Violin? How to get the best sound
Let’s assume you have a good and new set of strings, that your violin is clean and well set-up, and that your bow has good hair with good rosin on it, as I have advised in my lengthy post on how to take care of your violin. It is not because your violin is electric that all those details don’t have their importance in the making of the sound. But let’s go further.
To have a good sound when you record your electric violin, you need good cables (with as few adapters as possible), a good quality audio interface, good settings (sampling setting as well as level settings), good mixing, and, last but not least, the choice of a good CODEC.
The violin is a particular instrument with loads of overtones and natural harmonics in its sound. To take advantage of that peculiar beauty and capture it as much as possible, we need to be aware of several things. Among them is the importance of frequencies in compressed digital audio formats such as mp3 and mp4. And frequencies in the preamp and amp in the first place. But we will not cover microphone technology and placement here, as we will only focus on electric violins. Let’s dig in.
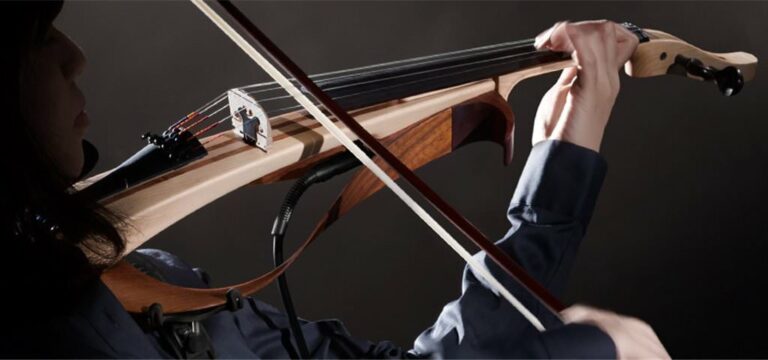
1. Select the right cable to have the best sound on your Electric Violin
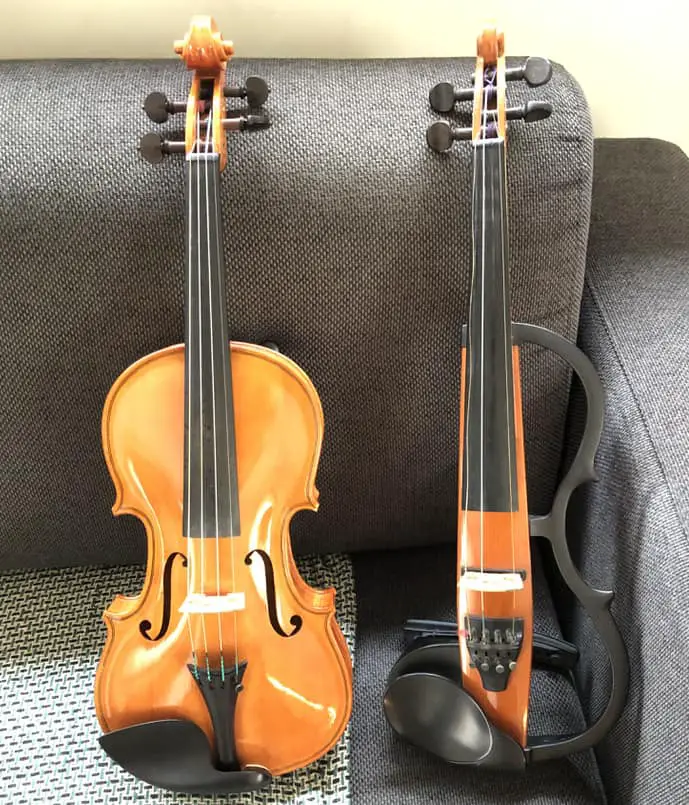
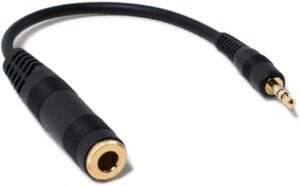
If you have an SV-100, 110, 120 series Yamaha electric violin, you have a stereo 1/8″ jack output: you already need an adapter to connect to your audio interface (or amplifier). You can buy an adapter (such as this one on Amazon).
But I don’t really like that. I prefer to go straight from my violin to the adapter with a single cable. I have bought a good golden plated small 1/8″ stereo jack that I have soldered on a big good quality 1/4″ jack cable, giving a unique and home-made sturdy hybrid cable that just sounds fantastic.
If you have an SV130 and 150, you already have a 1/4″ regular electric guitar type output. You have no excuse and should be getting a great cable. The same can be said for the YEV104 and SV200 series, aka professional series.
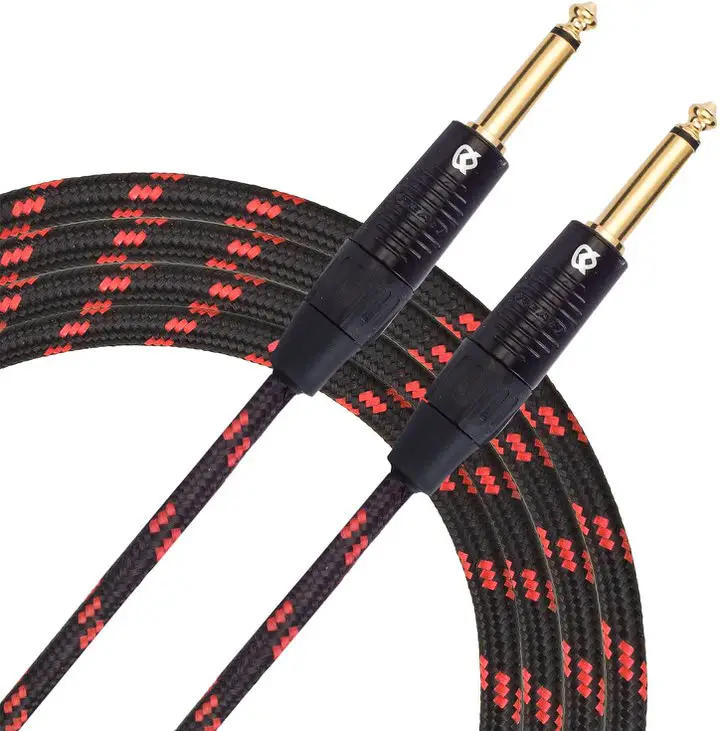
- Lastly, it is important to choose a good quality cable, even more so than with an electric guitar. The high spectrum of the violin sound doesn’t forgive approximative sound amplification. Avoid cheapest cables at all costs. Choose the medium quality at least, or opt for the best, as I do. You will get:
- Great contacts, of course, will lowest latency gold plated jacks,
- Great heavy brass wire,
- Good insulator protection layer around it that won’t let any interference in,
- Lastly, you will get a long enough cable that will soften some of the highest harsh frequencies of the spectrum.
All that will help the sound be full and warm.
This is the cable I recommend on Amazon:
2. Choose a good audio interface between your computer and electric violin
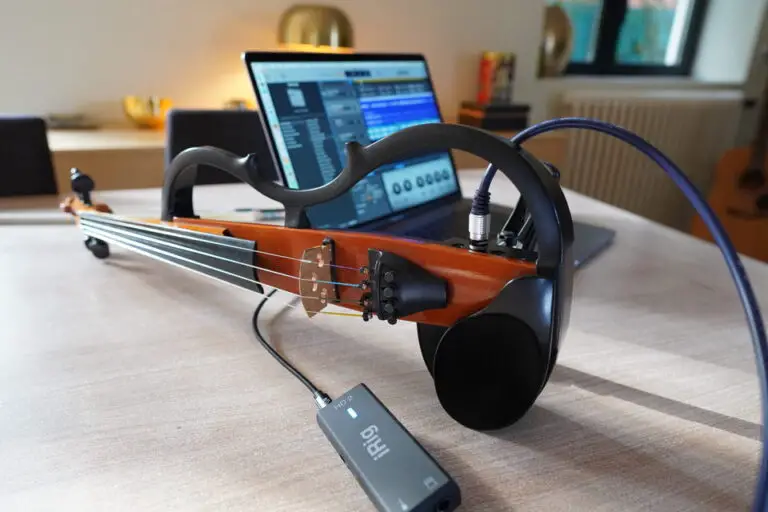
As for audio interfaces, you can see them as an external USB sound card. These can be expensive. A good value for money is the iRig HD 2 that I have chosen for my violin. It is small and light but is capable. You can sample your violin up to 96 000 Hz at 24 bit which gives a clean and precise definition, perfect to work with a violin sound.
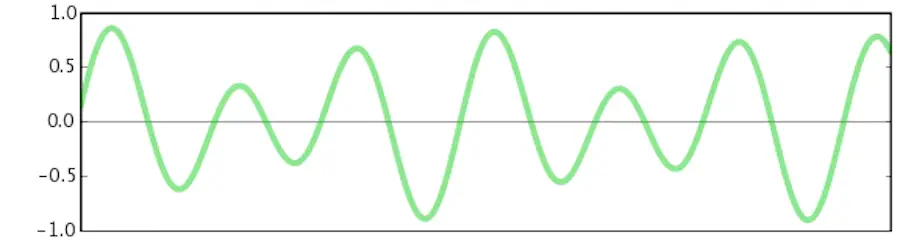
As described in the picture below (source), an interface needs to digitalize a sound, that is to translate a natural wave into digits, 0s, and 1s. The more details are taken into account, the more precise, natural and lively, the sound will eventually be at the end of the mixing process.
This is an analog audio waveform:
This is its digital sampled counterpart:
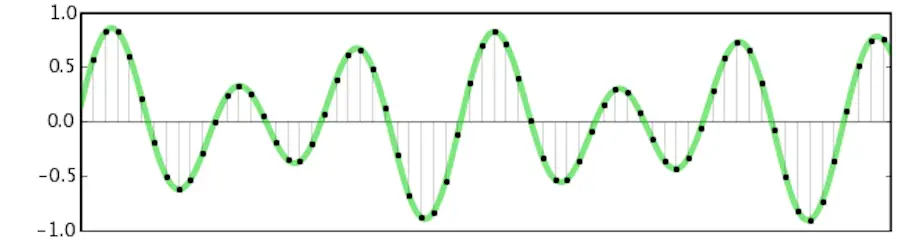
You can envision a 12 bit sound at 44 000 Hz (CD quality) as more pixelated as the one proposed by iRig. It is quite clear in the picture: the sampling (horizontal axis), describes the number of “slices” per second. The “depth” of the definition is the bit rates. The more slices, the more precise the sampling can fit the wave. 96000 Hz is less “pixelated” than 44 000. But it requires more computer power and more hard drive space. Now, you need to make sure that your software settings match the interface capabilities. For example, check and adjust Audacity’s processing settings, (96 000 Hz is not the default setting), Garageband, or Logic.
3. Mixing and setting up your sound
I won’t go too much into details about mixing, and I am far from a sound engineer myself. But I make sure to have my violin output volume (knob) set to quite loud to get as much data and information at the beginning of the stream. I also prefer to have the more dynamic range as possible out of my violin. It is easier to decide to add a bit of compression later on than to gain back dynamics already lost from the start. So, I set my violin almost at its loudest, and then turn down the knob at the output of the interface. The led on the iRig also gives a clear visual indication about if the sound is clipping or saturating. So I typically leave the knob at two-thirds to three-quarters of its maximum.
I then make sure that the input levels of the software are precisely set up. To make sure I won’t play too loud in the middle of the action, I play for a couple of minutes and check the levels. As far as mixing goes, I don’t apply an equalizer later, I prefer to keep my sound fairly natural. What I don’t like is removing dynamics with too much compression. Dynamics are the essence of music. Unless I want a particular incredible sound of course.
4. Choose the right CODEC to record your violin
What is a CODEC? It is a multimedia code that “encodes or decodes a data stream or signal. Codec is a portmanteau of coder/decoder (source).
Digital music takes up a lot of space. Bandwidth and or disk drive. It is less so now than it used to be, thanks to bigger hard drives and high-speed internet, but still. So files need to be compressed to take less space, be uploaded faster, and be shared easily with friends or social networks. That’s when codecs come into play.
Let’s sum up the options with what GarageBand gives us:
- Wav,
- AIF,
- mp3,
- AAC.
Wav and AIF are a bit of the same kind: uncompressed best quality codecs, Wav for windows, AIF for the Mac. So it is not a shared format as it takes up a lot of space. It is needed if you want to store music you want to use or edit later. Because you don’t want to compress and decompress music again and again as you lose signal and quality each time. So AIF and Wav are used to store music locally if you might need to use it or edit it later.
Mp3 and AAC (mp4) are CODECS that compress a musical file to a far smaller size, but it is known as a lossy compression (data is lost, or abandoned, and neglected). The algorithm decides to dump data it considers is not crucial. But it is important to bear in mind that the better the codec, the more intelligently those choices are performed. For example, 128 Kbits mp3 of the first generation, had a terrible sound because it just cut frequencies below and above a certain threshold. And as the violin has many natural harmonics, that’s part of the particularities that make its tone, those harmonics were plain cut. Violin sounds dull and empty with these settings.
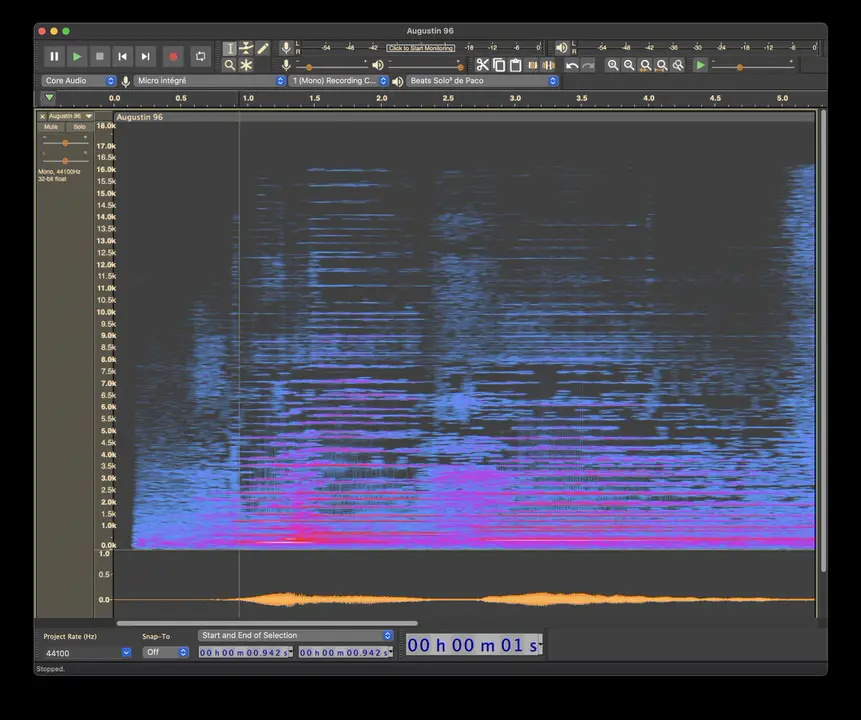
Here is an example of a violin sound with a traditional mp3 128 kbps setting. I have chosen a short excerpt of a Violin Sonata by Bach, played by Augustin Hadelich. I have chosen a classical violin sound to envision better all the natural harmonics and high frequencies of a good (Stradivarius!) sound.
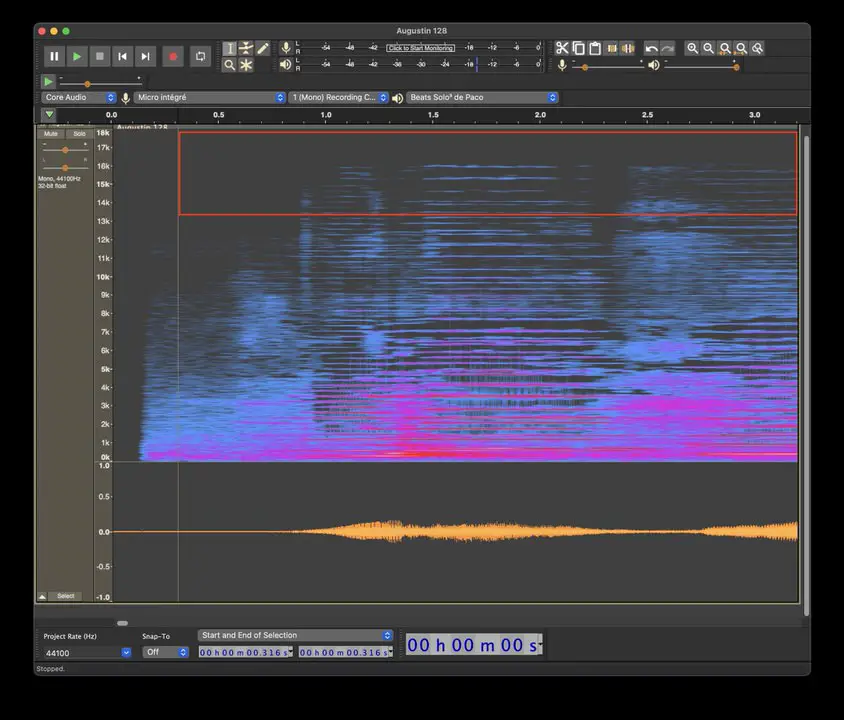
You can see that the frequencies are cut beyond 15k.
And listen to that sound (with earphones preferably), you can easily hear the difference with uncompress WAV sound. This is why I call it a “pixelated” sound.
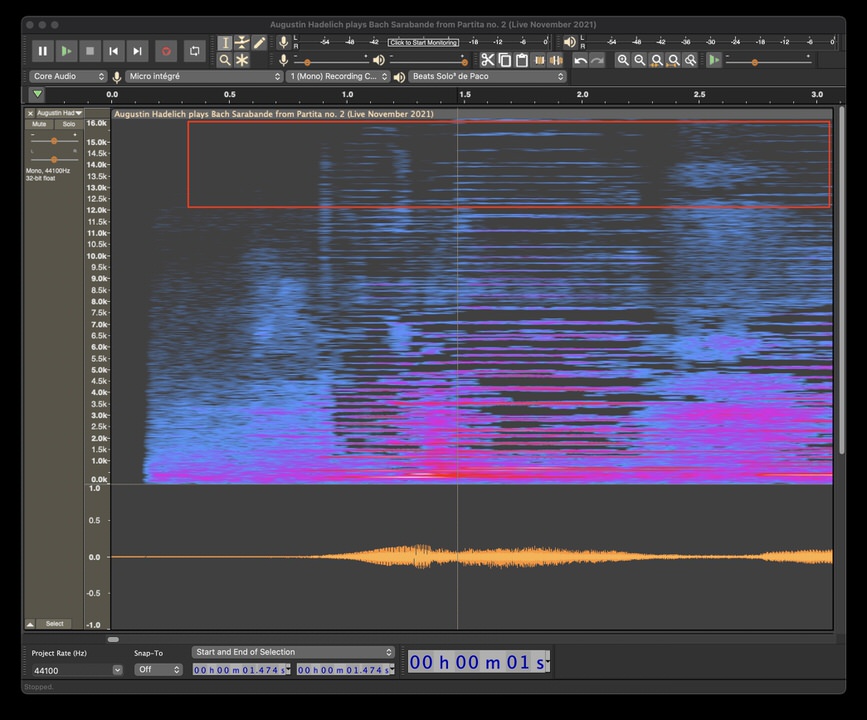
For a more dramatic difference, I encoded the same clip using the mp3 96 kbps setting. This is not as used as the 128 kbps one, but it is easier to visualize:
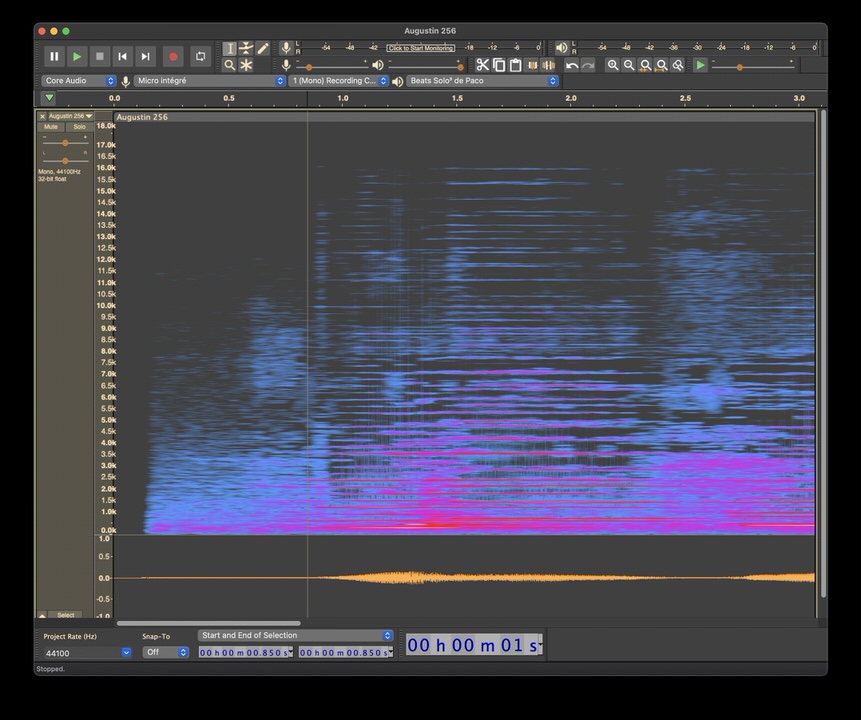
By comparison, this is an mp3 with better settings on the right. You can see much denser frequencies in gen
Visually, there is a clear difference, here. But, if we listen carefully, the result is truly better.
After mp3, new technology has arrived (with a better compression algorithm, a better rate, and … a different patent, of course). It is called mp4, or AAC in the Apple world. The file is even smaller, with increased quality. Here is what the sound frequencies look like:
And listen to that sound:
So, this is my compression codec of choice. The only inconvenience was that AAC was less spread out and well known as mp3 used to be. But time has passed and now AAC is as used as mp3, and you can share an mp4 file without fear.
Lastly, we can mention the FLAC format, which is a lossless way of compressing a true uncompressed sound (WAV or AIF). FLAC is well known among audiophiles as this is the best quality we can have out of a digital recording. The ratio of that codec is roughly 50%: the compressed file is half the size of the original WAV or AIF. Apple Music has started to provide FLAC lossless compressed sound for part of its catalog for several months now (2021). As GarageBand (and Logic for that matter) don’t offer direct FLAC export, you need to go to third-party software that will open your WAV or AIF and save it as a FLAC. This is quite straightforward and Audacity can do that without a problem.
Here is a table of the bit rate, the size of the file, a picture, and a link to listen to the output song.
| codec | file size | % compression | Listen (link) |
|---|---|---|---|
| mp3 96 kbps | 131 Ko | Audio | |
| mp3 128 kbps | 175 Ko | Audio | |
| mp3 256 kbps Variable | 124 Ko | Audio | |
| AAC 256 kbps | 592 Ko | Audio | |
| AIF 24 bit (reference) | 2900 Ko | Audio | |
| WAV 24 bit (reference) | 2900 Ko | Audio | |
| OGG 7 | 259 Ko | Audio | |
| FLAC 24 bit | 1700 Ko | Audio |
5. Choose the right headphones
Keep in mind that true Flac is worth it with wired headphones or speakers. If you use Bluetooth headphones, the wireless connection is bandwidth limited. To make up for that, the computer or phone compresses the sound to mp4 anyway between itself and the device. The lesser quality of the headphones, the lesser quality of the codec and compression engine. Apple is said to propose a lossless connection between the Mac or iPhone and the iPod pro 3, possibly.
6. How to use software presets to record your electric violin
GarageBand
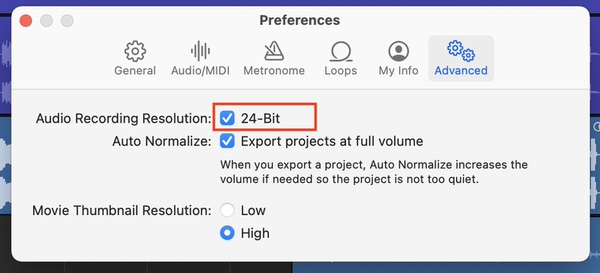
Let’s do it with Garageband. Choose a preset as we have recommended above. Make sure you select the best quality the settings offer. Do not go for 16bit (but 24), and choose 256 Kbits. You will lose little space (and bandwidth) in exchange for far better quality for your music.
Audacity
Let’s do it using Audacity. In Audacity, you need to play around with the settings a bit.
Then, as it is a freely distributed open-source software, you need to add and install additional libraries to use more file formats such as mp3 and AAC.
First, choose the best settings in Preferences:
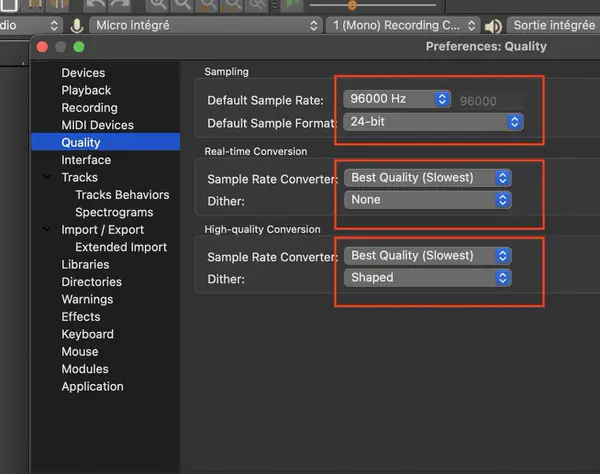
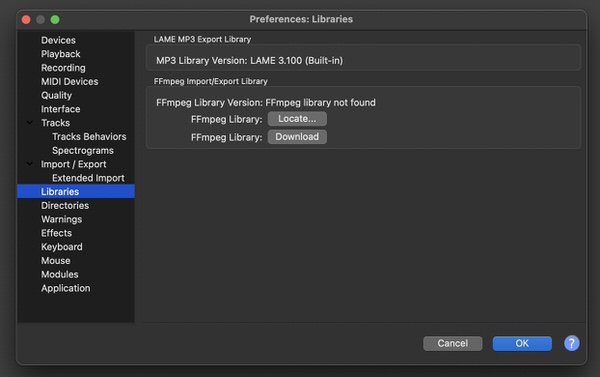
Install the mp3 and AAC libraries on Audacity
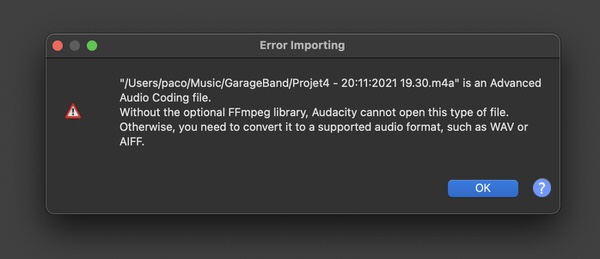
Installing the lame mp3 libraries and the FFmpeg aac libraries is not difficult. Just go to libraries in the preferences and follow the provided links. You will get an install pkg (.pkg file) that you just have to double click. The libraries will be installed in the correct place inside your file system, essentially in /library/application support/audacity
You can download both libraries at this address. But, once you have installed the .pkg files, you need to locate them in Preferences > Libraries. Now that you have downloaded both software, close Audacity.
Next time you fire up Audacity, you will have the ability to export your piece of art in a compressed format: mp3 or aac. A bit less spread out is the Ogg format that is a quite good and free and open-source implementation of the mp3 engine, with a different algorithm as the mp3 one is patented by Fraunhofer.
The gear and products I use and recommend for my electric violin
First, If you want to hear your electric violin, you need to either use headphones, plug it into an amp, or an audio interface.
The small amp I use and recommend if you want to practice at home is the great Yamaha THR10 from the THR series. It is portable and not expensive, easy to use and set up.
If you want to record yourself or plug your violin into headphones, your laptop, or your phone, a good and cheap digital audio interface I can recommend is the iRig HD2, which is more and more affordable on Amazon.
I typically use Thomastik Dominant strings on my electric violin. They come quite cheap on Amazon considering their quality and sound. Synthetic core strings work well on Yamaha electric violins.
Lastly, I use mainly Dominant rosin as well on my electric violin, as it has been designed to go with Dominant Strings.
You can check out in detail all the stuff I have tested and used on my recommended product page where I go into more details.