How to Plug an Electric Violin into a Mac? A complete guide
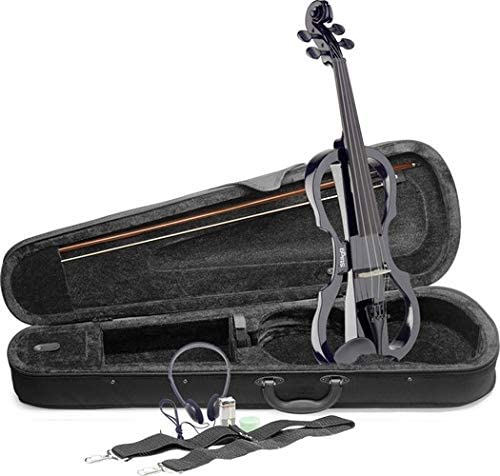
If you have your brand new electric violin, it is certainly not only for you to play with headphones or on your little amp at home. Chances are, you want to play with friends in a venue or a studio. But if you want to record yourself to improve your playing or to present a new tune, then you need to plug it into a computer.
Here, today, we’re going to look at how to connect your violin into a Mac to record it.
There are several ways to do so, depending on your violin and on your computer, of course. This is your first checklist:
- Check if your violin has a preamp;
- Check if your violin has a 1/4 or 1/8 jack;
- Check your Mac: does it have a USB, USB type C, or a sound card;
That is why it is better to use an audio interface.
What we need to plug your electric violin into a computer
First things first. There are three things to know before you plug your electric violin into your Mac.
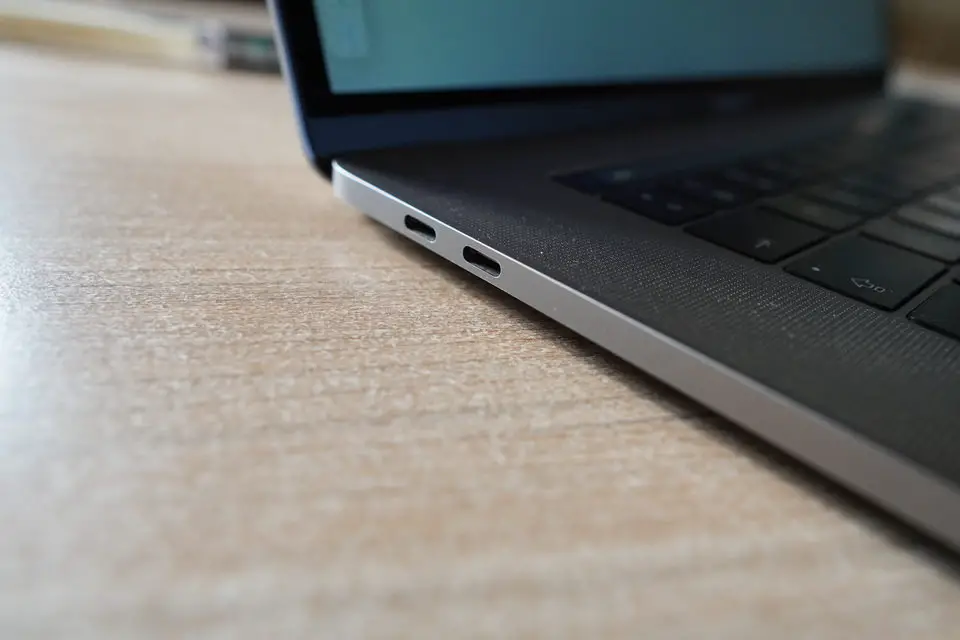
- What are the ports available on your Mac?
- What are the connections out of your violin?
- Is your violin pre-amplified?

What Mac ports to plug and record an electric violin?
On your Mac’s side, chances are you only have a USB port (regular USB type A or new USB type C). It is less likely that you have a Mac Pro or Power Mac tower with a sound card; in that case, you probably do not need to read this post altogether. But if you want to learn how to connect your electric violin to a sound card, read my blog post on how to plug your violin into a PC.
So, your Mac can input and record using USB. But to make the link, to understand the signal, we need a special device: a digital interface.
What output does your electric violin have?
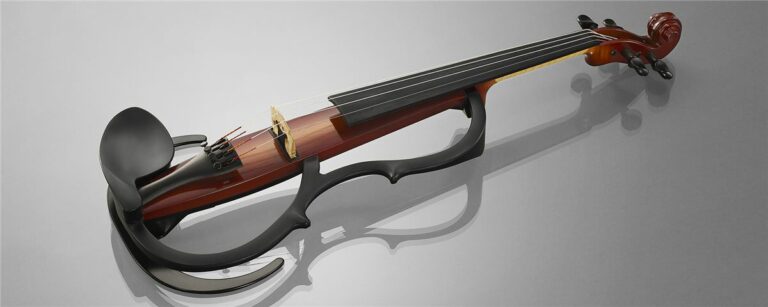
Yamaha pioneered the electric violin market with its SV-100 series. The SV100, 110, and 120 were more designed to listen to oneself with headphones or on a home stereo than touring America with a rock band. It only came with a 1/8′ jack stereo output.
Later, the 130 and 150 series came with a 1/4′ big and sturdy road-proven jack, comparable with electric guitar jacks.
Professional series electric violins like the YV-104 and the even better SV-250, come with a control box that can output everything that a sound engineer can dream of, among with XLR output to a mixing console.
So we have a USB on one side and a jack (1/8′ or 1/4′) on the other side. What do we need in the middle?
Why the need for a digital audio interface?
We live in the digital age. That means that if you want sound on your computer it has to be in digital form. No more pure analog waveform, let’s talk 0 and 1, that is to say, bits.
So, the role of the digital interface is basically to convert a sound wave, an analog one from the real world, to a sample, that is to say, numbers stored in a binary format in a computer, to be processed and played later through your computer.
As the sound of your instrument is low for many electric violins, it also serves the purpose of a pre-amplifier. Yamaha electric violins of the SV1XX series, need a preamp and this is a cheap and welcomed one.
What makes for a good quality audio interface for my electric violin?
The fact that the sound quality is 24bit 96kHz is also very good because, from the source, the best quality is gathered from the start. We minimize losses. And as a violin sound is richer than many instruments (natural harmonics), it is really important to have a good sample rate.
Now, let’s compare it with a digital image because we are used to it. 24bit 96kHz is a less “pixelated” sound if you will. It is closer to a “retina” sound, or an “ear-drum” sound. The line of the sound wave is closer to the natural wave of the real-life airwave of a sound.
Simple and cheap digital audio interface for your electric fiddle
Violins such as the SV 250 and 255 have an audio interface embedded and can be plugged directly into a sound system.
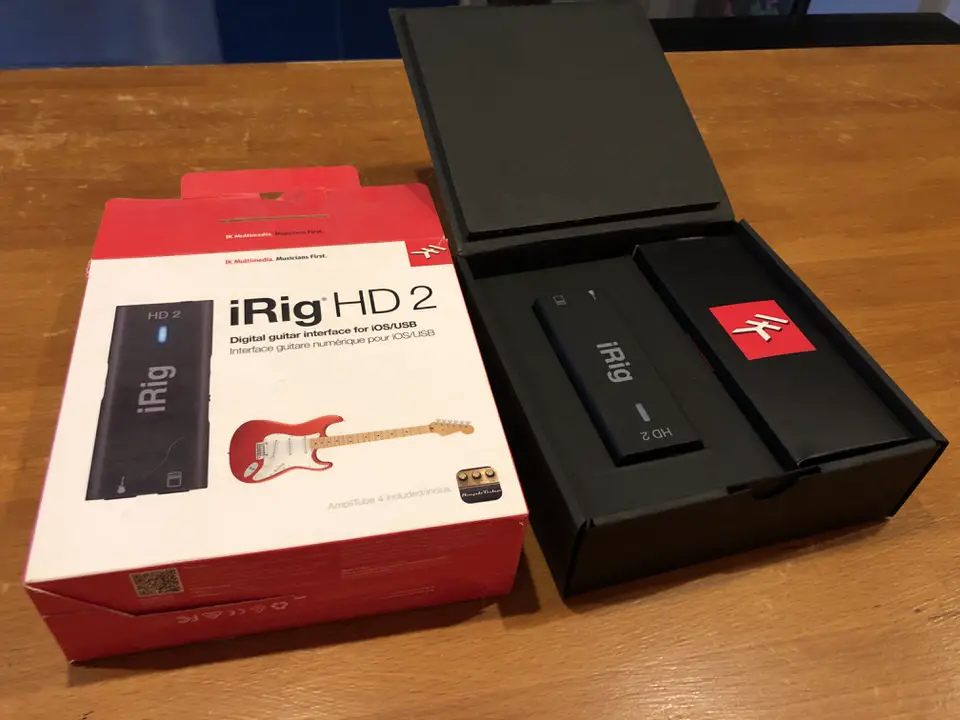
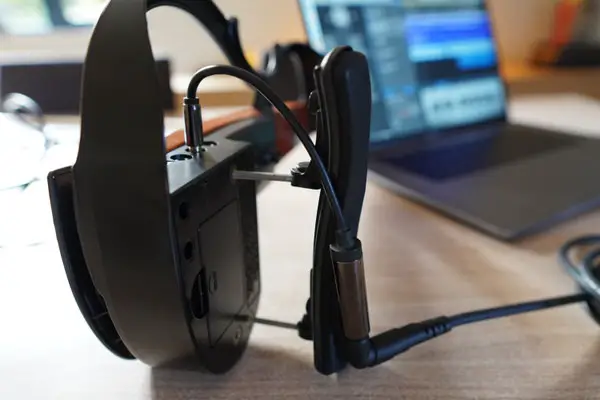
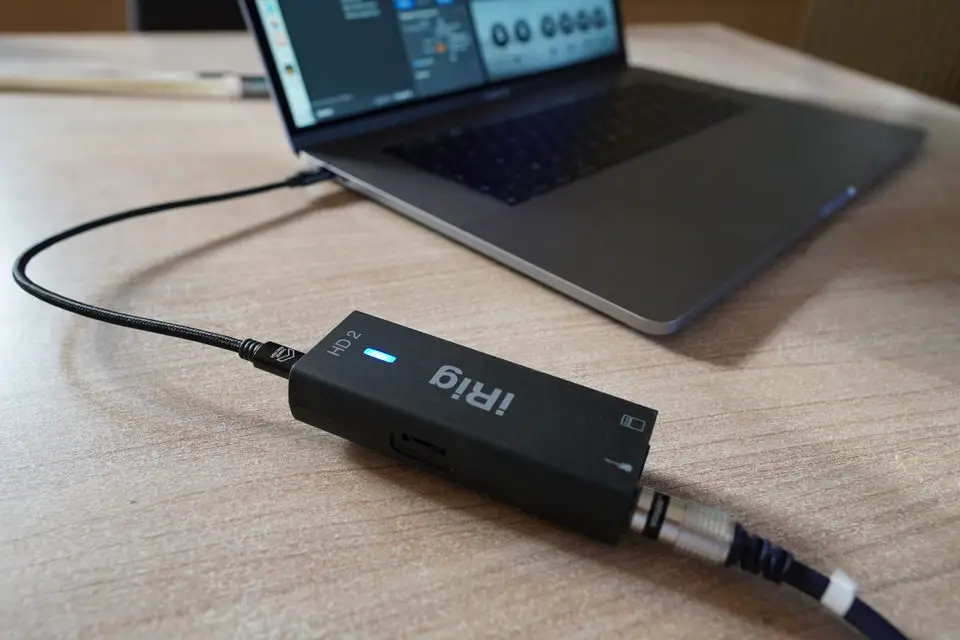
I use an iRig HD2 Audio Interface, which is easy to use and, above all, USB.
Macs do not have an inline jack for many years now, except for Mac Pros that can have a dedicated sound card.
The audio interface I recommend is the IK Multimedia iRig.
The iRig doesn’t need a battery, it gets its juice from the computer, that is why it is recommended to usually play while plugged in.
If you are on battery, you usually get … time of use, which is all right but don’t expect day-long sessions. It will of course depend on the battery of your computer and a brand new M1 Mac will give you far longer play and record time than an old over-heating Intel.
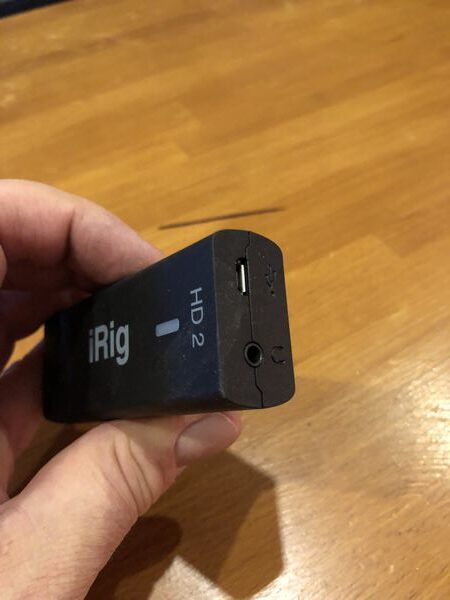
The iRig HD 2 Audio interface is light and small. It is feature-rich compared to its price and form factor. It is well thought out and we can feel that IK Multimedia has learned and improved from the original HD interface. Everything is here to help and satisfy the player.
You can plug your 1/4′ guitar or violin jack, which is quite handy.
You can take your sound out to an amp, in which case you only use the pre-amp feature if you select the “thru” switch.
You can plug your favorite 1/8′ jack stereo headphones as well and get either a “thru” sound or a complete processed and Fx-rich sound.
There is a micro-USB to USB cable that allows you to plug your interface into your Mac (or your iPhone if you select the lightning cable, but it is the subject of another article). If your interface is plugged into your Mac using the right software(s), you can take advantage of many sounds, recording capabilities, and effects.
So this interface is featured rich enough to get you started to play right away without additional hardware. There is little hassle to enjoy your newly digitalized electric violin.
Cables to plug your electric violin into your Mac
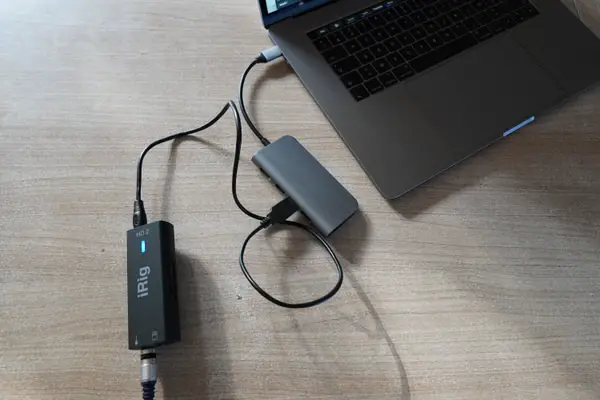
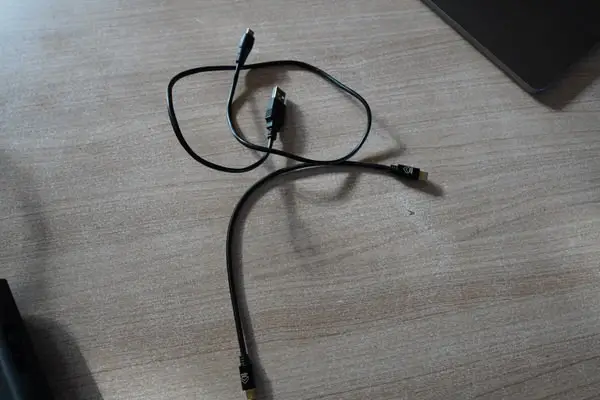

Unfortunately, the iRig only comes with a micro-USB to USB A adapter. If you want a cleaner look and setup, as I always do, here is the adapter you need: from micro-USB to USBC if you have a recent Macintosh.
This is a much cleaner look and less prone to a bad or loose connection.
I recommend this one from Amazon, so cheap you can’t live without it.
On the other end, you can plug headphones directly into the interface and take advantage of the sound, direct or through effects, of your violin, or, alternatively, you can get your sound off your computer with either wired headphones or wireless ones.
The last thing to consider, when talking cables, is how to plug your violin into the iRig audio interface. Let’s not forget that the iRig has a 1/4′ jack input, which is great for electric guitars for which it has been designed. But not all violins have a 1/4′ jack input.
This is a picture of the difference between 1/4 mono jack, 1/8′ mono, and 1/8 stereo for reference.

For example, this is a list of the main electric violins that we can find on the market:
- In the Silent series, the Yamaha SV-100, SV-130, SV-150 have only 1/8′ jack output, without a preamp.
- Yamaha SV-200, SV-250, SV-255 have a 1/4′ jack output, like regular electric guitars. They have a preamp as well.
- Yamaha SV-104, a new up-to-date electric violin that goes back to basics (the SV-104) only has a 1/8′ mini-jack output as well. A provided 1/8′ stereo cable is used to connect to the mandatory Control box (which is a deported electronics to save weight). You can plug an external music player in the “aux in” jack of the control box to play along with your instrument.
- In the electric Series, the Yamaha YEV-104 and 105 both have a full 1/4′ output jack with a passive signal. They have to be connected to a high-impedance pre-amplifier such as an audio interface.
While a 1/4′ to 1/4′ jack is preferable, you can use an adapter (1/8′ to 1/4′ adapter), buy a 1/8′ to 1/4′ cable (hard to find), or make one yourself (which I ended up doing), by soldering the jack you want on the cable you want.
This is the kind of adapter I bought from Amazon, or, in this case, the cable.
Software to record, mix, process and export your electric violin music on your Mac and to the world
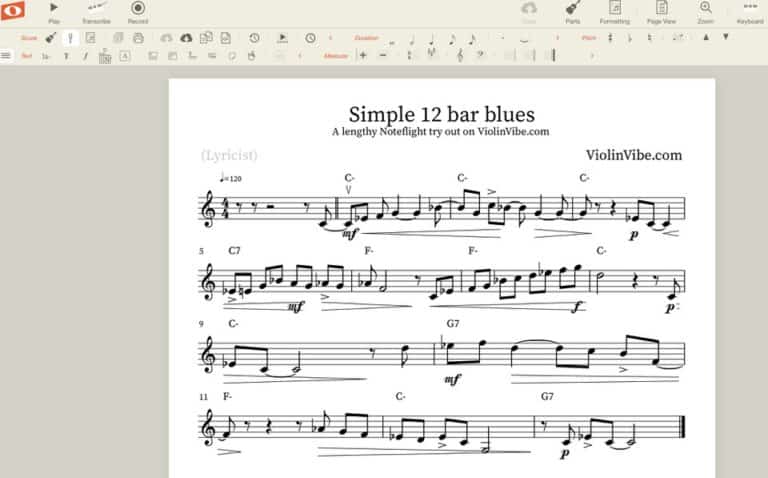
Audacity
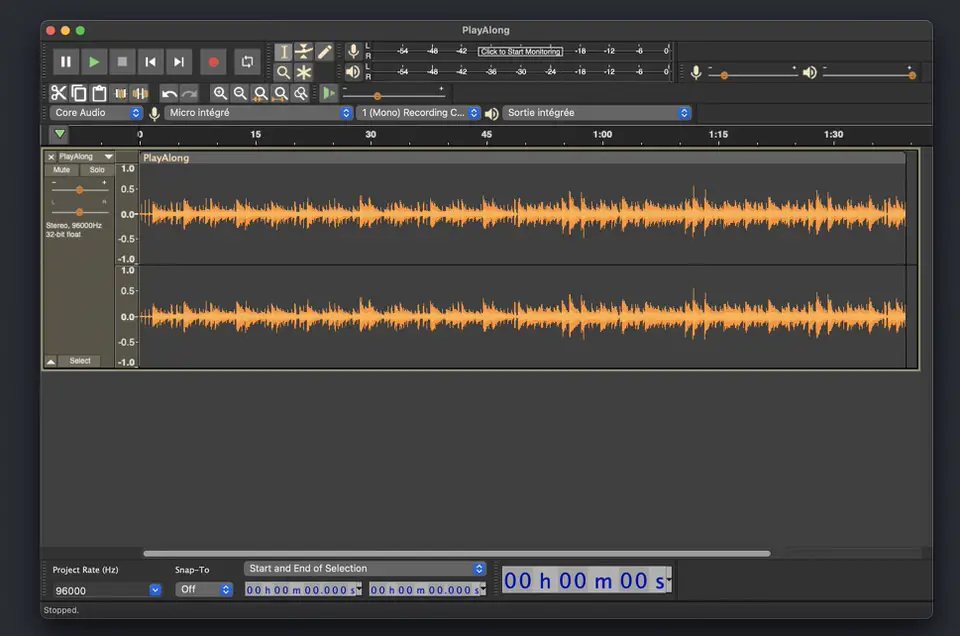
Audacity is free and open-source software, available for Mac, Windows, and Linux. It has been bought by Musescore lately and has known a quicker development since then. It is quite easy to use, even if its interface is not on par with the latest standards, especially on the Mac. But that doesn’t matter really.
- When you plug your violin and the iRig, just select the “iRig HD 2” in the input menu, above, signaled by the microphone icon. And Voila.
- Check and adjust the gain on the interface (preamp signal force) and the level of the input on Audacity (mike). Make sure it doesn’t clip (go into red territory) where the sound saturates and the signal is lost. Stay in the green area. Even yellow and orange is a bit too loud, you might go into red later on with forte notes. You can always normalize the audio later (that is to say, adjust the softest sound and the loudest sound to the extreme part of the spectrum).
You can record your instrument, do some adjustments, add a little compression, normalize the audio, do a bit of cleaning, and lastly, export your sound to the format you prefer (mp3, aac, AIF, Flac, …)
Audacity has now a magnetic timeline which makes the software easier to use and more powerful. You can even use it to do some light multi-track editing.
Audacity is great to record in order to hear yourself back but is not the best software to mix and compose. For that matter, let’s see below.
As I have explained, it is important to change Audacity’s Preferences to match your audio interface settings for the best quality. Go to “preferences>quality” and choose 96 000 Hz for “default sample rate” and “default sample format” to 24 bit. Now, I advise as well to select “best quality (slowest)” to both of conversions settings.
You should be able to record your electric violin with the best quality possible into your Mac with this free and open-source application and those settings. You can easily export your recordings to mp3 or as I recommend AAC.
Audacity is not the easiest choice if you want to mix your next tune on your Mac. In that case, read on, because Garageband (and later Logic) is the way to go. But this is the subject of another blog post.
GarageBand
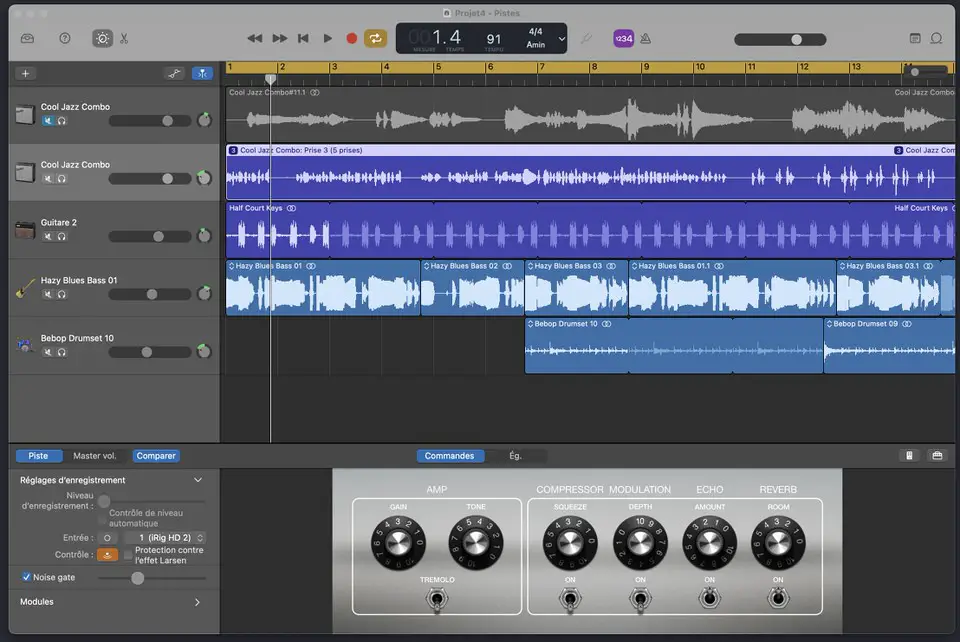
Garageband is a great piece of software that comes free with every Mac. Though not technically open source, it is still free and easy to use for everyone. Many windows users get jealous when they see me use Garageband. It is a great addition to all Mac computers and allows anyone to get the toe into the water of music production.
Garageband is not technically designed with electric violins in mind, but it serves that purpose nicely. The only real difference between an electric guitar and an electric violin, as far as Garageband is concerned, is the frequencies of those instruments. Typically, the violin sounds higher in the main notes but is also richer in its sound with many natural harmonics that define its tone or timber. So that is something that you need to keep in mind later on when you will want to adjust your equalizers.
But when you plug your iRig HD, Garageband doesn’t care if there is a guitar or a violin connected to it and just displays this device as an input source.
So, plug your violin into the iRig and plug the USB cable to your Mac and then open Garageband. It will detect your interface automagically.
As with Audacity, you will need to adjust your input levels with care, as you do not want a bad clipping sound with saturation. I typically do not set my iRig volume at its maximum, but I do not want to have it too low either, because I want to have the best signal coming into my Mac. It is in GarageBand that I lower the input signal further if needed.
Creating a tune and mixing is not in the scope of this post. But it is quite simple to have great fun with Garageband, just drag in a couple of loops, say a double bass and an electric piano, hire a drummer. And just hit the record button (or the R key). Record till you are happy with it and share your song with your friends or family with the share menu. Garageband will mix and export your music, and then compress it with the appropriate codec (AAC, preferably, as mp3 is not great for violin sounds).
AmpliTube 5 SE for Mac/PC
Amplitude is the software provided free with your iRig. Let’s see what we’ve got. Clearly, this software has been designed with rock style and guitar in mind. But it can be twisted
Read further my article where I go in-depth on how to record and compress sound file your electric violin.
The gear and products I use and recommend for my electric violin
First, If you want to hear your electric violin, you need to either use headphones, plug it into an amp, or an audio interface.
The small amp I use and recommend if you want to practice at home is the great Yamaha THR10 from the THR series. It is portable and not expensive, easy to use and set up.
If you want to record yourself or plug your violin into headphones, your laptop, or your phone, a good and cheap digital audio interface I can recommend is the iRig HD2, which is more and more affordable on Amazon.
I typically use Thomastik Dominant strings on my electric violin. They come quite cheap on Amazon considering their quality and sound. Synthetic core strings work well on Yamaha electric violins.
Lastly, I use mainly Dominant rosin as well on my electric violin, as it has been designed to go with Dominant Strings.
You can check out in detail all the stuff I have tested and used on my recommended product page where I go into more details.