Take Maximum Care of your Violin: How and why you should
The violin is a miraculous instrument. Such a tiny object can have such a magical and powerful sound. But it is delicate and fragile. If you want to get the maximum out of it, you should take care of it in many ways that are unknown to many students or even teachers. We should never take a violin for granted. It is such a complex work of art that needs love to give its voice and sing.
You should check your violin regularly and ask for the advice of a luthier. Your maker will inspect your violin thoroughly, for cracks, glue problems. The soundpost and bridge have to be adjusted regularly. But what you can do yourself is to have strings in new or perfect condition. The instrument has to be cleaned inside and outside. A good case has to protect it from weather conditions.
There is no single tip or trick. But there are so many cumulative details of which some are more important than others. Taken alone, they won’t make much difference, if any at all. But combined, they will give you a far better instrument than what you’ve had from the start.
With a violin in perfect condition, perfectly tuned up, you will be able to finally concentrate on what matters most: music and sound. Let’s see how you can free your musical mind from those technical impediments.
Table of content
What your luthier has to check for you:
- Your violin maker will check your instrument glue
- Your violin maker will check for cracks
- Your violin maker will maintain the position of the bridge
- Your violin maker will check and adjust the position of the soundpost
- Your violin maker will help you choose the right set of strings
What you can do yourself to take care of your violin:
- Buy new strings and install them
- Clean your violin, strings, and bridge thoroughly
- Adjust the position of the bridge
- Lastly, buy a good violin case
Check your violin thoroughly with the help of a luthier
If you die for a good sound, you are likely to spend a lot of time and effort to reach that goal. Reading this blog is part of it. So you need to maximize your chances of success. So the first thing you need to do is to have a flawless instrument. You can’t afford to lose time with a violin that is not functioning properly.
So the first thing you will have to do is to go to your local violin maker or luthier of choice. Explain that you want an inspection of your instrument, an overhaul. As a car would be serviced, a violin needs regular servicing.
1. Your violin has to be glued perfectly
The luthier will inspect the body of the violin.
He or she will check that everything that has to be glued is in place and that nothing is detached or unglued.
If the bass bar, for example, or the ribs are detached from the soundboard, the whole violin will sound funny, or even fuzzy. The sounding box will not function properly. You might even hear a fuzzing sound with the pieces intermittently touching each other.
2. Your violin soundboard has to be checked for cracks
The violin maker will inspect the table from small cracks. Even if you haven’t noticed any, it might always occur that, due to temperature, a problem with the glue or an impact, have provoked a crack. The F-holes are a fragile part and usually cracks follow the line of the wood around those holes. Or sometimes the purfling. In any case, cracks are bad for the sound and can also cause fuzzing vibrations, not agreeable to the ear.
Such repairs can be costly. But they are mandatory if you want to get the most of your instrument.
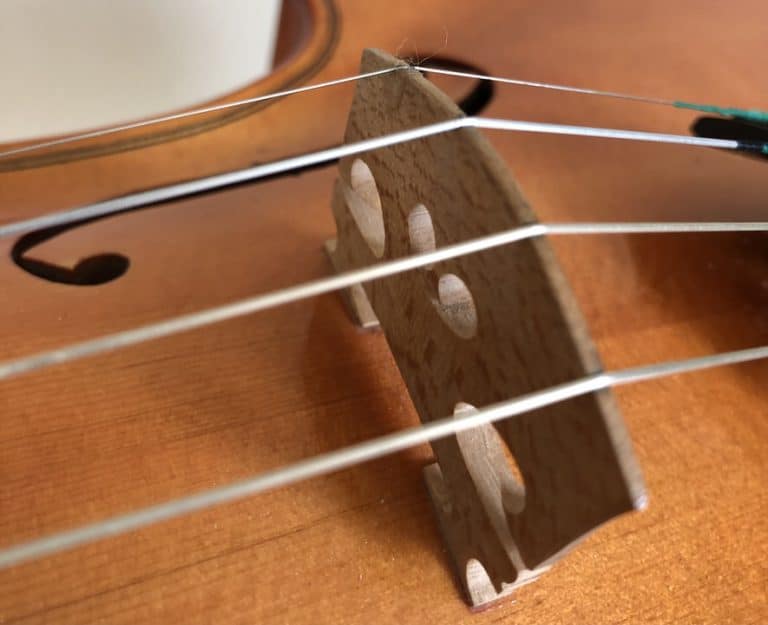
3. Perfect adjustment of the violin bridge
Your luthier will align properly with the bridge. The bridge has to be put in the right place on top of the sound post. It is the role of the luthier to find that place and place precisely the bridge on it. Don’t do it yourself! Your luthier might upgrade your violin with a better sound post that will give a better sound. Don’t hesitate, once again, as I think it is worth the cost. Good bridges are not too expensive and give a good betterment to the sound. He or she might even remove some wood to open up the bridge a little bit more to have it vibrate a bit more freely. They have many aces up their sleeves.
This is how my luthier has always taught me to adjust the bridge.
One thing that is important with the bridge that you can do yourself, is making sure that it doesn’t sit at an angle. The bridge should always form a 90° angle with the soundboard. But every time you tune up your instrument, the string even so slightly moves towards the peg. After thousands of adjustments, the bridge tends to lean towards the fingerboard. Regularly, you should check the angle between your bridge and the soundboard. You can adjust it if necessary using the following method:
- sit straight on a chair,
- hold your violin with the pegbox pointing down
- put your two knees in the c-ribs to hold your violin without your hands,
- take the top of the bridge slightly towards you, with a strong but careful motion
Check the result, and do it again if necessary. Put some graphite where the strings rest on the bridge to help them slip. The bridge will be less prone to leaning while you tune up your violin (the strings will slip more easily). And you will find it easier to put your bridge in the right position if needed (again it will slip more easily).
Remember: a bridge that is bent too much will be far more difficult to correct. It might be necessary to change it. That is why a bridge has to be checked regularly.
4. Adjustment of the soundpost: how and why
The soundpost is physically holding the tension of the strings, preventing the arch to collapse.
How the “soundbox” produces sound.
Physicists will tell you that a box resonates at a certain frequency. But the violin is a box that amplifies so many frequencies from low notes to extreme treble… How is it possible? How could ancient Italian violin makers do such a feat?
Different woods, different densities vibrate at different frequencies.
The top soundboard is made of a different wood than the bottom part of the violin. The top board is lighter, less dense. The part where the lower strings are on the bridge applies forces on the bass bar glued to the soundboard: the top of the violin amplifies bass notes.
The bottom part of the violin is denser, and, as such, vibrates more quickly to higher frequencies. The part of the bridge where the treble strings are, apply force on the soundpost, which transfers treble frequencies to the bottom part of the violin. The bottom part of the violin amplifies treble notes.
So it is easy to understand how and why the soundpost has an important role to sound.
Envision the soundpost a bit like the tone knob or your amp. It is responsible for equalization. But even more, it has to be of the right length and position. If too long, it will apply too much force to the sound table and prevent it from vibrating freely. If too short, it might fall off completely and the violin might break altogether.
For all the above reasons, the luthier will adjust the sound of your violin by moving slightly the soundpost. First, the defects of a wrong placement will be solved (violin that can’t breathe, can’t vibrate). Then, this great professional will give the violin the type of sound you prefer and suits the nature of your violin. You won’t regret it. It is quite quickly done and the results are great. If you can’t judge, the luthier will choose an all-around good sound that will please you in the long run. For a better result, you need to bring a musician friend or accept the help of the luthier because the sound of the violin in your ear is different from the projected sound in the hall: you won’t be the better person to judge the sound in you are the one playing.
5. Your violin maker will help you select the right set of strings
Lastly, your luthier will be of great help to choose strings. It is not always easy to select the right set of strings. You can’t just buy any set of strings and hope that it will sound great.
Your violin has its own personality. Some violins sound best with soft strings (gut for example) while others prefer steel. The difference in gauge is important as well. A heavy gauge can prevent a violin to vibrate or on the contrary suit perfectly another one. A luthier will give you the perfect advice on what kind of tension your violin can accept, depending on its construction, state, structure, design, and so on.
You will pay your strings a bit more expensive at your maker’s shop, but the advice you get will be invaluable.
There is no point in getting the cheaper price for strings online if the set doesn’t suit your instrument. So your maker will be the best place to experiment with strings and choose what colors suit your instrument and your taste.
You can even coordinate different brands and form your own set. For example, some instruments have a good G but a weak D, with some kind of unwanted overtone on the upper position on the D. A blended set, suited to your need, can be a better choice sometimes than a set from the same brand. Only the luthier can help you in that direction.
If you have done all the above, your violin will already sound a lot better. You will be thrilled by the difference. The playability of your violin will be improved together with the response time of the string. You will feel motivated to go further and improve even more your violin and technique. So read on, there is a lot more to cover.
What you can do yourself on your violin to take care of it
1. Buy new strings and install them
You should change your strings regularly. If you are a student, I would say on average everything months, or more if you play a lot. But even if your stings still look good, they might be worn out. Don’t forget that your strings endure a lot of wear and tear. They withstand a lot of tension plus they vibrate a lot while sustaining the weight of the bow. If you play chords, even a lot more pressure is applied to them.
So they tend to distend or stretch, even if you can’t notice it. They even stretch in an uneven way between them, or within different parts of themselves. That causes the phenomenon of false strings. It means that the strings vibrate un-evenly and produce a blurry sound, without an edge. They are tricky to play in tune. You find it difficult to play double stops and especially fifth. They even can have a higher pitch if you play forte rather than piano. You should get rid of them as soon as possible.
Even if your strings are not false, as described above, they may be worn out and lose the edge to the sound. If you look at them with a magnifying glass, you can see that the wire is worn out. Plus, there is some rosin on it, between each round of wire. After some time, it is particularly difficult to clean off the rosin perfectly. So this is another case where you must change strings.
Read my post on how to change strings easily on your violin and have great results by avoiding these mistakes.
2. Your violin has to be perfectly clean
It is of great importance to clean your violin regularly and thoroughly. This is my step-by-step how-to guide.
The varnish of the violin plays a great part in the sound. The luthier will clean it thoroughly with a special product. It might appear to be a detail but a clean violin will vibrate better and sound better, even slightly.
Always clean up your strings
After playing, you should remove the rosin off the string with a cloth. Once every couple of days, it is important that you remove the rosin more thoroughly with alcohol. Clean out the rosin without forgetting the lower part of the string (underneath the string), where rosin is likely to build up. A layer of glued rosin is a known reason for bad sound. So it is really important to have a clean string.
Twice a year, clean inside your violin
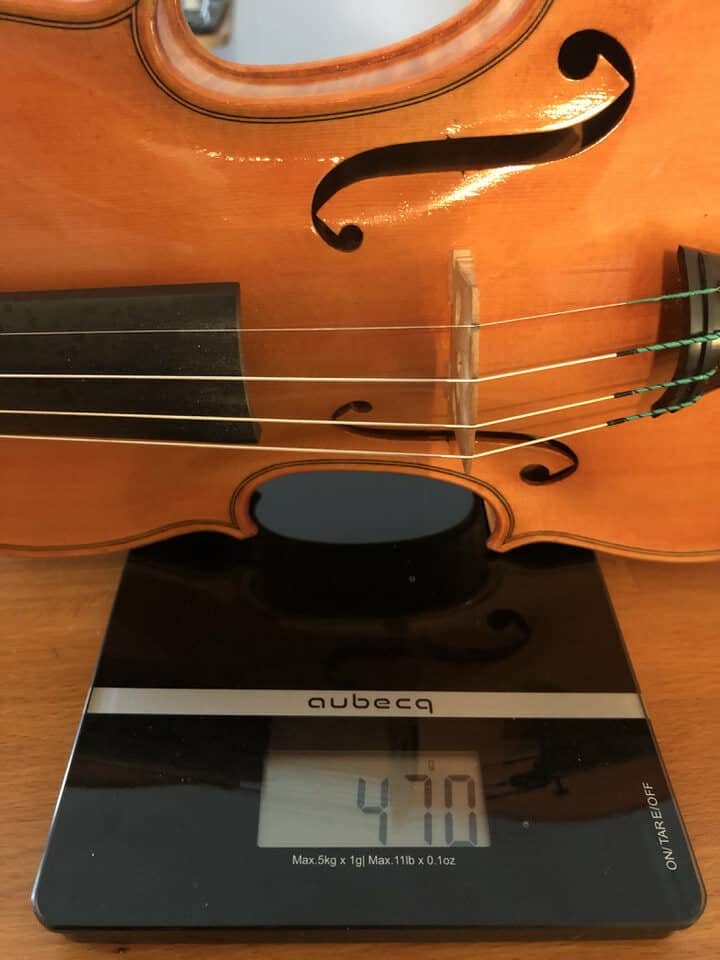
It is less well known, but cleaning the inside of your violin can be important. It will vibrate more freely if the wood is clean of dust. To clean it, just pour inside a small handful of rice (not cooked!) and shake your violin. If you haven’t done it for a while, chances are you will see a ball of dust. Once, I had to use tweezers to take it out of the violin through the F-hole. Imagine the consequence of the sound such a dirty wood can have. Your violin should be perfectly clean inside and out.
Clean your bridge and check for its position
My teacher has always advised me to clean the rosin dust off the bridge every day with a soft pencil, especially under the bridge, in the small holes… The bridge is by definition the piece of wood that vibrates the most, so the bridge must be perfectly clean.
I have described how your luthier will check and adjust your bridge, but you can do it yourself. And it is preferable to do it lightly often than to wait and have an irreversibly bent bridge that your maker will have to change.

Store and carry your violin safely: buy a good case
You should choose a good case for your violin. The case that was provided stock with your violin is probably not strong enough.
This is what I recommend to store your violin and give it extra protection.
A good case must have:
- good mechanical protection against crushing or fall. Some cases are particularly light and stiff, and provide lifelong protection to your instrument. They will prove themselves a crucial investment to protect your beloved violin.
- good protection against differences in temperature. A good case has some sort of insulation to protect your violin from cold or heat. That means when you are between taxis or trains, or rushing from your home to your teacher’s home or a concert, your instrument won’t have enough time to suffer from extreme differences in temperature. You will preserve your instrument in many ways. The glue won’t suffer from the expansion of the wood. You will prevent the eventuality of a crack. Your violin will remain in tune more easily.
- good protection against air (and humidity). A hygrometer is provided in the best cases. It will give you a clear indication of when the air is too humid or too dry. During the dry summers, don’t hesitate to install a Dampit in your violin, which will provide a bit of humidity and relief to the wood. On contrary, if the air is too humid, put some silicate gel in your case to mitigate the rate of moisture.
- In the same vein as temperature and humidity, you should use a second cloth to protect the violin inside the case. My old teacher used to call it the “pajama” of the violin when I was a kid. It will provide further protection against humidity and temperature. Another layer of insulation.
Lastly, don’t store too much stuff in your case. That can damage your violin at any time while carrying it. And tiny bits can go inside your violin.
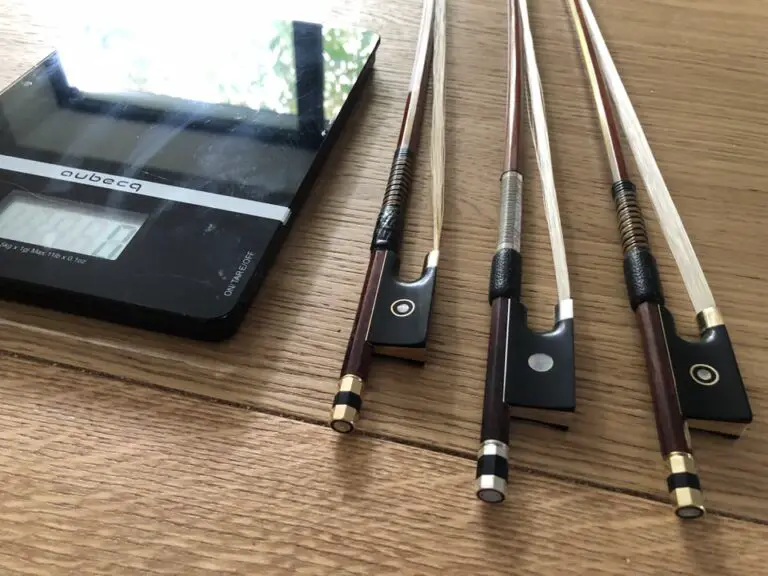
Now your violin is perfectly tuned up, checked, and clean. The strings are thoroughly selected and new. It is a well-protected instrument: then it is in perfect condition to play. Next, let’s see how is your bow. I have detailed in that long blog post how to take care of your bow.
Now check out my mega guide on how to maintain your violin and bow in that endless article!