Why does my Violin Squeak? Where to Start
There is nothing worse than hearing a squeaking sound of a violin, or, as some people say, a screaming cat. And sometimes it happens when you try to play to an audience… That is one of the most feared aspects of violin playing. Parents fear hearing squeaky sounds from their kid’s violin; starter violinists fear scratching for a long time before being able to play a good sound on their instrument.
So, why do violins squeak when people start to learn how to play?
The violin has to be clean, and the strings in good condition. To avoid a squeaky sound, the right arm has to master: 1. The correct pressure to apply to the string, 2. The placement of the bow between the bridge and the fingerboard 3. The bowing technique should be in a straight line.
Contrary to a piano where it is enough to hit a key to produce a sound (though there is more to it, of course), a violinist has to master tone production from start to end. This is easier said than done.
Let’s see the key factors that will inevitably make the violin squeak; some you won’t consider.
1. What to check on the violin to prevent squeaking sounds
The violin has to be in good condition and well-tuned by the maker. But each violinist must check for the following points:
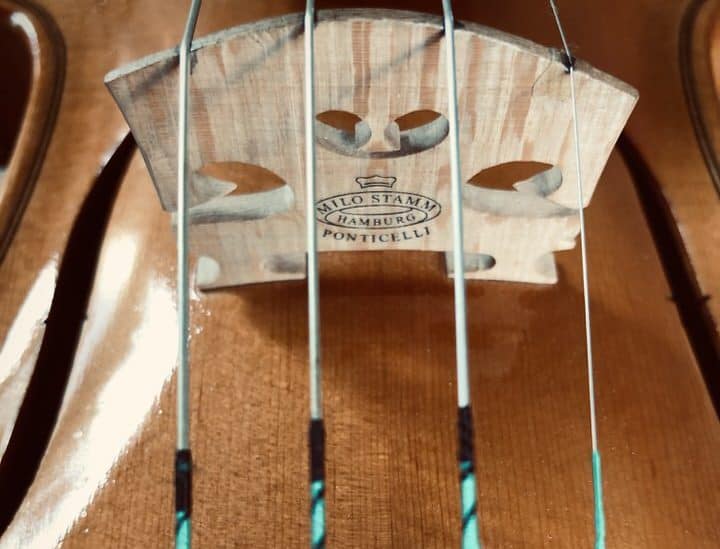
- The strings have to be clean of all rosin. At the end of each rehearsal or concert, the strings have to be cleaned with a clean cloth and alcohol to take off any remaining rosin. The rosin will otherwise build up and prevent the string from vibrating properly.
- The strings have to be in good condition. They shouldn’t be too old. If you start to have a proper technique, but are not happy with the sound, change your strings because they wear out more quickly than we anticipate.
- A good amount of rosin has to be put on the bow. Not too much, not too little. If too much, the bow is too white, and rosin dust spreads immediately while playing, making a kind of cloud. Wipe it off with a cloth. If too little rosin, the hair of the bow doesn’t have enough resistance to grip the string and vibrate it, which leads to airy sounds, sometimes whistling sounds, a bit like unwanted flageolets. Add rosin by scrubbing gently on the rosin, a couple of times at the tip and at the frog, and evenly on the length.
- Rosin: Experiment with different kinds of rosin. You might eventually find the one with a better sound. But frankly, this is not the main cause of the squeaking sound.
- The bow has to be re-haired. Though less likely, again, the hair of a bow wears out as well, and after one year of playing it is often time to have it replaced.
2. How to avoid scratchy or squeaking sounds: the point of contact
The sound of the violin is made by the hair of the bow gripping the string to vibrate it.
- The first common misconception (or bad habit) of beginners is to apply too much pressure on the string. That’s not their fault. They don’t have enough technique to use the proper bow speed to go with the pressure they apply. Plus, they want to make a sound by pressing the string with the help of the strength of their arm. That prevents the string from vibrating. The string has to make rounds in space in order to vibrate. The pressure prevents the string from moving freely in space, that is to say, from vibrating. And as you can’t get a bad vibration, you get none at all.
- Secondly, a squeaking sound is produced by a bad contact point of the bow on the string. When the string is played fast, the point of contact has to be closer to the scroll. When played slow, it has to be closer to the bridge. When the pressure is weak, closer to the scroll, but when there is a lot of pressure, closer to the bridge. And lastly, when our left hand plays in high positions, the string becomes shorter. The consequence is that the point of contact has to go closer to the bridge, again, to allow the string to vibrate freely.
- Lastly, when the hair of the bow vibrates the string, there is vertical pressure. When the bow changes direction, that pressure has to be relieved slightly, otherwise, you will make a new sound with the pressure already applied (as opposed to progressively applied). This will squeak or even make a whistling sound if the string is not gripped properly.
These tables will give you the right point of contact of the bow to the string, depending on pressure and/or bow speed.
| Scroll | Bridge | |
|---|---|---|
| Bow pressure + | X | |
| Bow pressure – | X |
| Scroll | Bridge | |
|---|---|---|
| High bow speed | X | |
| Low bow speed | X |
This bow placement needs to become second nature through many hours of learning and trial and error. But knowing the theory will make you win big time. And not all violin teachers know that in detail…
Applying too much pressure will prevent the string from vibrating. Playing too close to the scroll will prevent the string from vibrating. Playing too close to the bridge will give a scratchy sound.
A beginner will, of course, have to learn how a violin produces a sound in order to understand the bow technique. But in a nutshell, if you don’t want to be a classical virtuoso and want to have a quick answer, when in doubt always:
- Use more bow speed than intended (you will risk airy a light sound but will prevent squeaking), use two bows if the note is long;
- play closer to the bridge than you are used to (the string will vibrate, and you will risk scratching sound, which is less irritating than squeaking string);
3. Bowing technique on the violin
What we’ve just said is somehow related to the bowing technique, but was more specifically the point of contact between the bow and the string.
Now we consider the motion of the bow itself. Again, tone production is key when we speak of playing the violin, and squeaking is the very first level. Bow technique is key.
- Play the bow in direct strokes, straight, parallel to the bridge. Playing in circular motions tends to generate a bad sound. It is important to play while watching oneself in a mirror in order to practice straight bowing. The difficulty is to get a fast straight bow motion. Playing in front of a mirror is essential. When your teacher is not here to correct your gesture, some people have good results using a straight bow guide, which can be found quite cheaply on Amazon.
- A beginner usually has problems using the shoulder (to go to the frog of the bow) and easily uses the elbow. Then, to avoid squeaking, it is preferable to start playing from the center of the bow to the tip. The first motion we learn is usually that one, from the middle to the tip, where only the elbow is at play. On the opposite, to go from the middle of the bow to the frog requires two gestures at the same time (elbow and shoulder) in order to get a straight bow. This is more difficult to perform; that is why it is usually after a while that this second part of the bow is used. ** In many alternative styles of music (Irish, Bluegrass, Jazz), players almost never use the bow till the frog, and that is why.** When you start and if you want a correct sound quickly, do as they do: play in the upper part of the bow. That way, mastering pressure and motion is easier. You will definitely limit your squeaking.
- Changing of bow directions. That is the last pitfall. Remember, the hair of the bow grips the string. If there is not enough speed, that resistance creates scratchy sounds. And when the bow direction is changed, there is a small moment of immobility. When the motion starts again, the bow grips the string with too much weight (pressure), and that creates a squeaking sound. That is why two things need to be acquired: a) you need to relieve pressure slightly when changing directions, b) the fingers of the right hand are flexible and act as springs, accompanying that motion (a bit like car suspensions that react to the car stopping or starting). I have made a gif to illustrate this small yet important gesture, as words can’t sometimes carry as much information as video.
For a good technique, the right arm has to be neither too flexible nor too stiff. But for a beginner, being too flexible is preferable if avoiding squeaks is the objective. Eventually, the violinist will get a proper sound and then a great one.
4. Conclusion
To sum up, just trust your teacher.
But if you want to avoid squeaking fast, clean your strings thoroughly, apply the right amount of rosin on your bow, use the upper part of the bow, try to use a bit more bow speed, play closer to the fingerboard, and keep flexible right-hand fingers.
That can have a strong impact on improving bad violin sound. Now, if you want to sound great, there is a lot more to it, and I have written this long blog post on sound production.
Now, do not confuse a squeaking sound and a whistling string. I have covered in this lengthy article how to prevent our E-string from whistling.
You might be interested as well in my comprehensive guide on how to make a great sound on your violin, you can read it here.
