Where to Put Your Fingers on a Violin? And Where You Shouldn’t
The first thing to consider when you are holding a violin for the first time is that you shouldn’t put your fingers everywhere. There are parts of the violin you shouldn’t touch. And that, even before you consider playing the instrument.
Where not to put your fingers on a violin or viola
A complete beginner or someone who doesn’t know about violins puts his or her big fat fingers everywhere, especially on the body of the instrument.
As a simple rule of thumb: we shouldn’t touch the varnished part of a violin. Old varnish (or new, by the way) is very prone to fingerprints. And even if clean, our hands are still slightly greasy. We leave fingerprints on the varnish of the instruments, and they are not easy to clean, especially on oil-based varnish. If stained, a varnish has to be cleaned with great caution and precision using a special polish. And a dirty body (table and bottom) doesn’t vibrate as well as a clean body.
So we can touch:
- the neck and the fingerboard,
- the tailpiece,
- the chinrest,
- if installed, of course, the shoulder rest.
This gives plenty of ways of holding a violin in your hands. And it gives you the chance to look professional!
Where to put your fingers to hold the violin
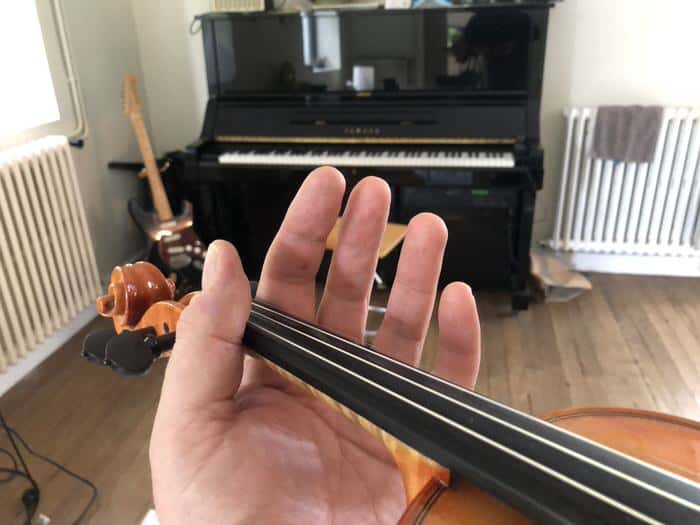
Put your left hand in front of you (see picture). Do not turn it in towards you yet (pronation movement).
The violin should rest on the collarbone, with the chin preventing it from slipping.
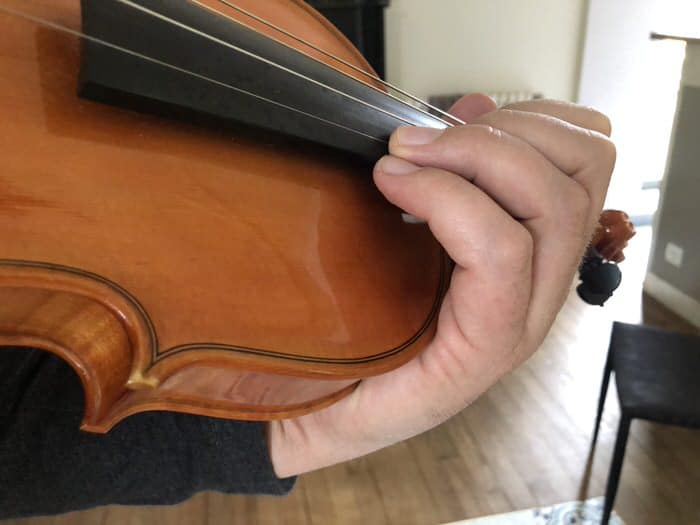
The violin’s neck has to rest on the thumb of the left hand and the base of the first finger. This is how you hold your violin with the left hand. Not ON the left thumb, but BETWEEN the thumb and the base of the index. You shouldn’t squeeze the instrument; just support it. The neck of the violin should just rest on these two points of support. If you squeeze, you will create some tension that will have repercussions on the arm and elbow. It will hinder your play, and you won’t be able to change positions properly.
So it is where (and how) you should place your left-hand fingers close to the nut.
Where to put your left-hand fingers to play the violin
Now that you know where to put your fingers in order to hold your instrument let’s learn where to put them to play.
What part of the fingers should be in contact with the fingerboard
The fingers shouldn’t stop the string in a too flat position. But they shouldn’t be too vertical either. If they are too flat, you won’t be able to play fast and reach all the notes you need to. Your hand will be too flat.
If your fingers are too vertical, the surface of contact between the fingerboard and your fingers will be too small and the sound too edgy.
To have a good sound, the meaty part of the finger has to be in contact with the fingerboard while stopping the strings.
Never put down pressure on the fingerboard; just stop the string with minimum strength. Your hand should always remain relaxed.
A visual guide to place your fingers on a violin fingerboard
If you are a complete beginner without a teacher, you can buy a guide to glue onto your fingerboard in order to have a visual representation of where to put your fingers to play notes.
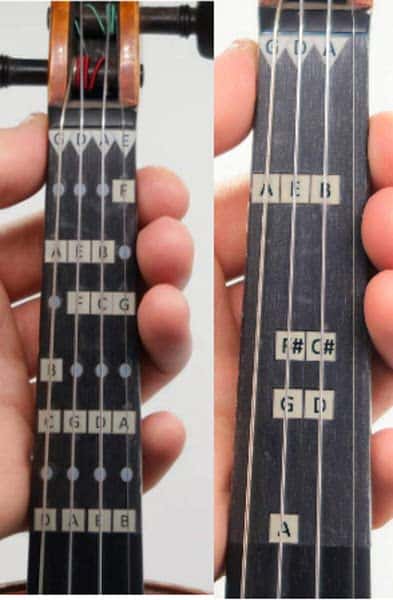
As I have described in the article detailing the differences between the violin and the guitar, there are no frets on the violin fingerboard. Its placement and the angle at which we hold the violin makes it hard, or even impossible, for violinists to watch the fingerboard as guitarists do. So violinists should play by reflex and ear and not through their eyes. But for a newbie, having a visual representation of the fingerboard can be interesting. This one on Amazon comes in a cheap set including the D scale together with stickers with all the notes.. To use these stickers, you need to be careful to stick them properly in the right place if you want to play (mostly) in tune.
Even if I don’t advise that kind of product too much, they can be a good start for complete beginners. That visual representation will lead to a mental picture of the fingerboard. And even with these stickers, the fingerboard has to be supported correctly between the thumb and the index base, as described above. Then, if you don’t change position, the hand should move to reach all the notes of a scale. The fingers have to learn to be round or extended. See below.
Acquiring the proper technique to place your fingers on the violin fingerboard
So even if your stickers are still in place, your brain has to learn that there are two ways of stopping the strings with your left-hand fingers:
- the round way (natural C on the A string);
- the extended way (C sharp on the A string).

You should envision that, if you don’t change positions, your hand is strictly fixed. A bit like sparrow legs, left-hand fingers expand and retract while playing in the same position. That is the way of playing as in virtual frets. You understand now that earing (to check if you play in tune) and feeling are the only ways to place your fingers on the fingerboard.
If you play like that (round or extended), your mind will soon get a clear picture of the position of your left hand depending on the desired note to play: round natural, extended sharp.
So the visual representation of the notes on the fingerboard is a good start, an exciting way of understanding the layout of the fingerboard.
But the position of the left hand itself is the way to play. Imagine you have frets inserted in your fingers. So it is not where you place your fingers that matters, but how you lay them down.
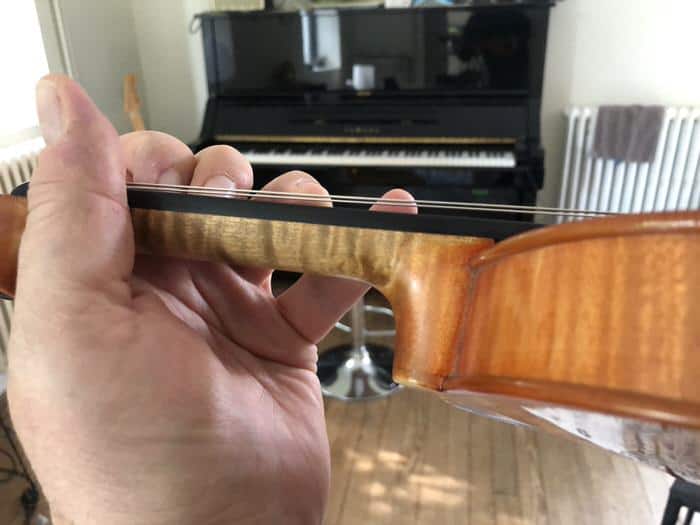
Left hand on the body of the instrument
Lastly, in the first and second positions, the violin’s neck will be in contact with the thumb and index base only. But in the third position, there will be a third point of contact: the palm of the hand on the body of the instrument.
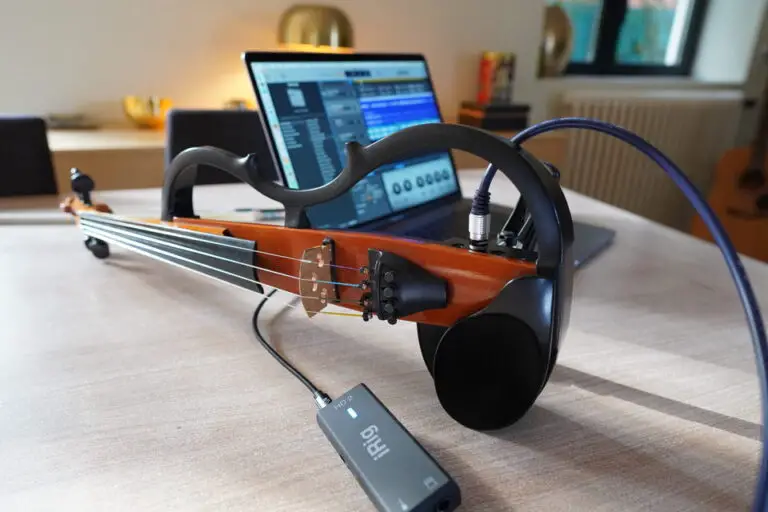
Try that: you will feel that it is really comfortable to hold and play the violin like that. From the third position and up, the palm will always be in contact with the instrument’s body. That is why electric violins must have this shape, as many violinists have (should have)been trained that way. Without the contact of the instrument’s body, the violinist will risk playing out of tune, lacking a critical reference point.
Where to put the right-hand fingers on a string instrument bow?
Where not to put your fingers on a violin bow
Just like for the violin, even without playing, you should hold the bow a certain way.
There are places where you shouldn’t place your fingers.
Generally speaking, you can touch the frog and the part of the stick that is close to the frog.
It is not recommended you touch the stick. Contrary to the violin body, the stick is usually not varnished. It is oiled to protect the wood. If we recommend not to touch the wood of the stick is again not to put finger natural grease on the wood. It is less important than the violin body.
What any violinist shouldn’t touch at all, though, is the bow hair. Again, it is to protect it from being contaminated with finger grease. The hair of the bow has to be dry, grease-free at all cost, as it needs to pull the string with it. Even with the help of rosin, a sticky compound made of pine tree sap, the bow still risks slipping on the string without grabbing it. If there is a greasy spot on your bow hair, the sound will be irregular and inconsistent.
Where to put your fingers to play with a violin bow
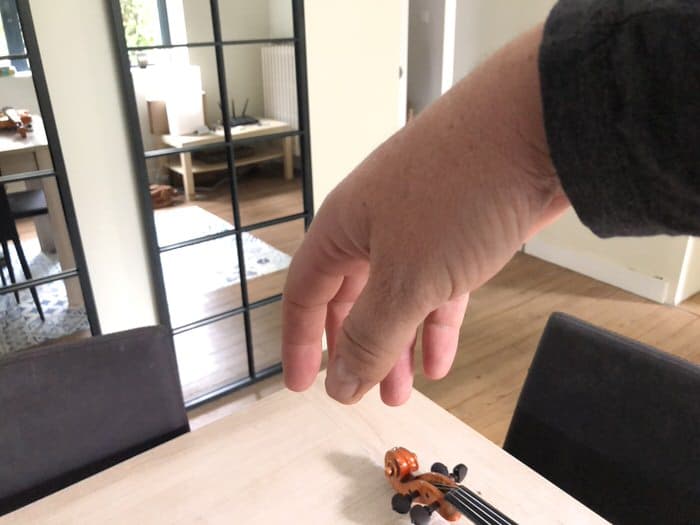
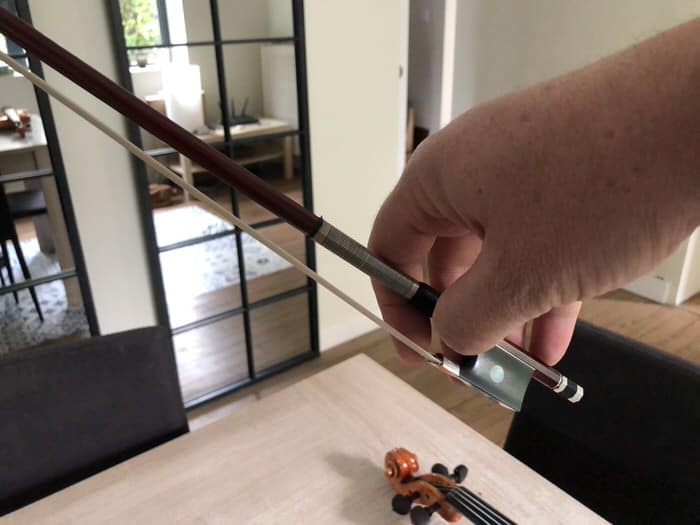
Just hold your hand in front of you in a very relaxed way. Don’t put any tension or movement in your hand. This can be the natural position of your hand without the bow: then slip your bow between the fingers without changing the position of your hand. The placement of your fingers shouldn’t change: the position of your hand without or with the bow should be very similar. When in doubt, always refer to the natural position of your hand without the bow.
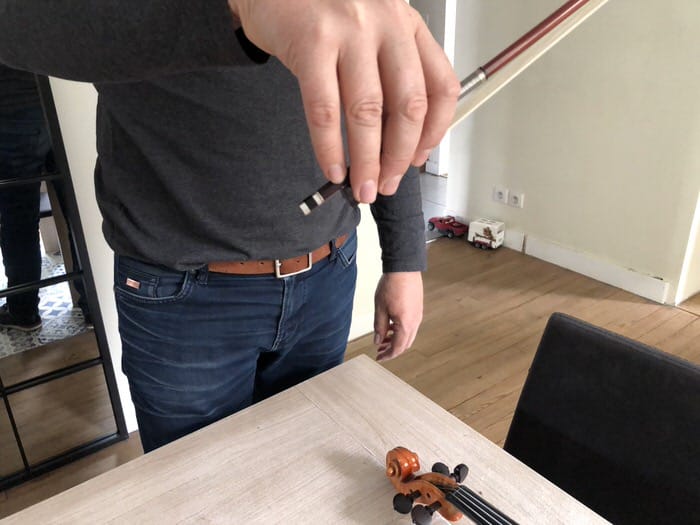
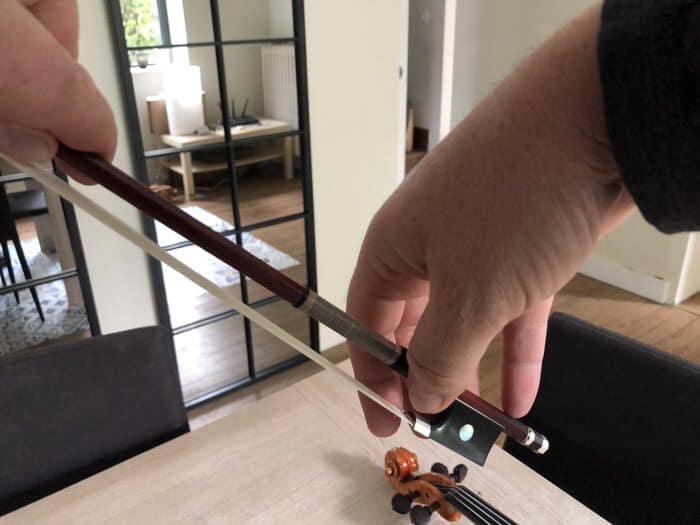
The point of reference is the thumb: it has to be placed on the frog of the bow.
With the thumb on the frog, the angle of the bow is as such (see picture): the thumb, the index, and the middle finger should form a triangle.
The index is resting on the leather protection and the pinky on the button. They shouldn’t be spaced out more than they are in your natural resting position.
If you put your fingers like that, you will alleviate unnecessary tension and muscular fatigue. If your hand is relaxed, it will help your whole forearm and arm to be relaxed as well. And that is a good start, not to say a necessary step, to have a good sound.
Remember: the more natural your finger placements, the more relaxed and enduring your play will be. And by natural, I mean that your hands look like they aren’t holding an instrument. There is no holding per se.